HOW TO MAKE BAKLAVA
Sold yet?
Here’s the deal: I’ve wanted to make baklava for YEARS. As a firm believer of the nuts-stink-in-desserts camp, this flaky treat has always made the cut. In fact, I’m pretty sure that for the first like, 15 years of eating this, I didn’t even know it was nuts. I just thought it was some sort of delicious, caramely heaven thing.
No one in my family ever made it, but a few of my mom’s friends would graciously gift us some around the holidays and I would often hog it all to myself, saving one last piece for my mom. I figured it was impossible to make.
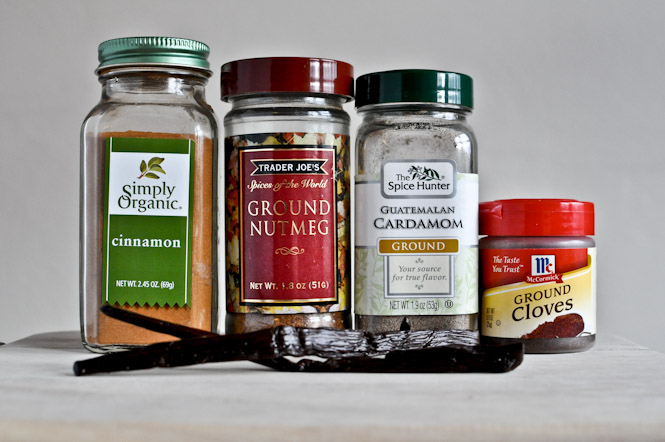
I knew I wanted to put a tiny bit of my own spin on the flavor, so I added cardamom and vanilla beans. Freaky.
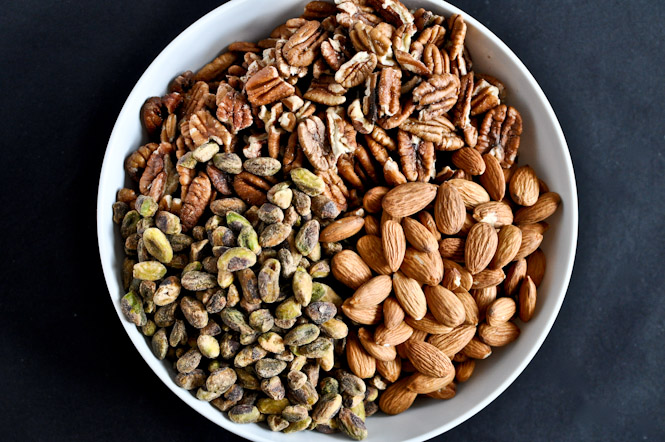
I also used mostly pecans, then almonds and pistachios. Pistachios are funny. They are green.
Here’s a bowl of nuts.
Um, let’s talk about how I often do things wrong. Like, everyday. I used salted pistachios. Dude… totally okay. I was nervous, but not nervous enough to go buy a bag of unshelled pistachios and then spend a few hours of my life shelling a pound of them. I’d rather paint my nails. So… I had salted pistachios on hand and I used them. They rocked.
Tyler Florence’s (yes, we are BBF’s now) recipe called for a sh*tton of nuts. I am not even kidding. This recipe would be incredibly affordable if not for the raw, unsalted nuts that cost an arm and a leg. I didn’t read the reviews online before chopping mine up (uh, I mean, why would I do something smart like that?), but you could easily get away with about half of the called-for amount. More on this later.
I also used vanilla beans!
I love spending my life’s savings on food related items.
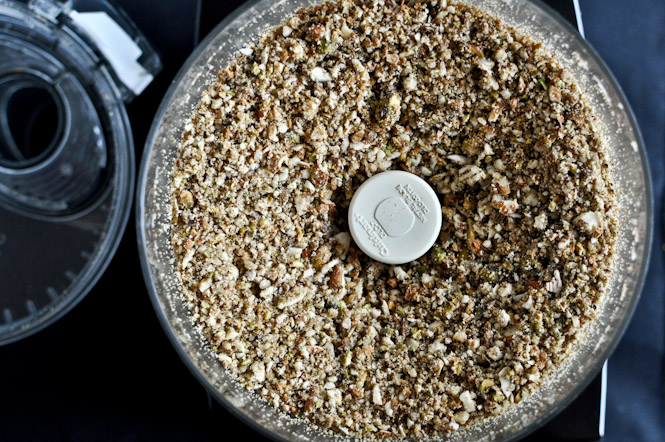
I chopped everything in my trusty lil’ food processor, including adding the vanilla beans in spurts so they’d be somewhat evenly distributed.
I was afraid that I ended up chopping the nuts too fine, but again… I wasn’t afraid enough to have patience and press pulse 42 times while chopping. Regardless, they ended up being perfect for me.
Oh. Oh oh oh! Something else I did?
I REDUCED THE BUTTER. Yes. I REDUCED THE BUTTER.
I know. Wasn’t sure you heard me the first time. This isn’t necessary, but butter is quite a precious (read: expensive) commodity around here and I figured I’d start with two sticks as opposed to the four that the recipe called for.
Maybe I’ve been abducted by aliens.
Oooooh and another thing? Remember when I made croissants? And before that, how I couldn’t figure out for the life of me why croissants were supposedly soooo unhealthy? Then I rolled a pound of butter into between the dough? Well. This is sort of like that.
There is (almost) a pound of butter in this pan. I freaking love it.
Also like the croissants, I figured that this would be quite a challenge. Turns out it wasn’t very challenging at all, just time consuming. I ended up using my 9×13 Calphalon pan, after Tyler’s recipe (see? BFF’s fo’ life.) suggested refrigerating the layers for 30 minutes before baking. I didn’t need anything shattering in my oven, so this worked great.
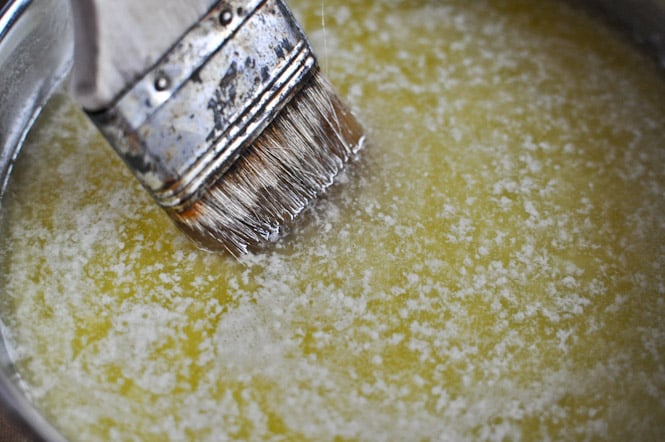
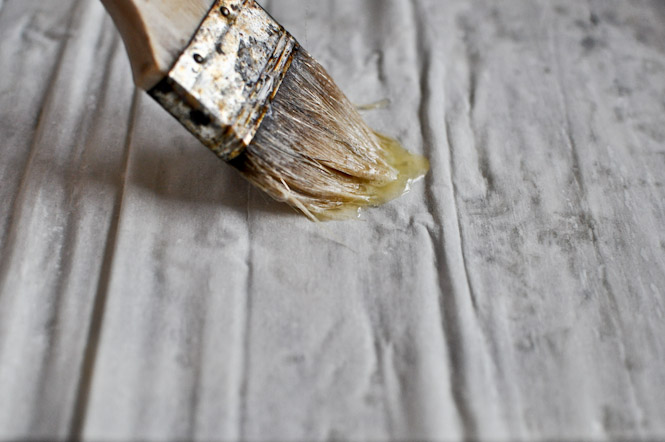
First up – you brush the entire bare pan with melted butter. Then, you layer 8 sheets of phyllo dough, each brushed with melted butter, like above and below.
Now would be a good time to talk about the phyllo.
Hmmmm. Me? No patience? Yes. You know this. It would probably be wise to read the instructions first. I opened both packages and hurriedly “unrolled” them to let them thaw. Then I ended up with a giant, flakey mess. Eventually (and four boxes later) I learned to be patience and let them completely thaw, and I did follow the directions by placing a slightly damp towel over top. Even though I did all of that, let me just say that almost every single one of my sheets ended up ripping one way or another in this process, no matter how gentle I was. Moral of the story? Keep going anyway.
Since I had all of those nuts, I knew that two layers (as the recipe suggested) just wasn’t going to suffice. I didn’t want super thick nut layers (that’s what she said?) and I didn’t want to waste the nuts, even though I was already angry because sitting in that food processor up there may as well have been a new pair of shoes. So I did four layers of nuts.
Here’s how it went: 8 sheets of phyllo -> 1 layer of nuts -> 4 sheets of phyllo -> 1 layer of nuts -> 4 sheets of phyllo -> 1 layer of nuts -> 4 sheets of phyllo -> 1 layer of nuts -> 8 sheets of phyllo. With EVERY SINGLE LAYER BRUSHED WITH BUTTER.
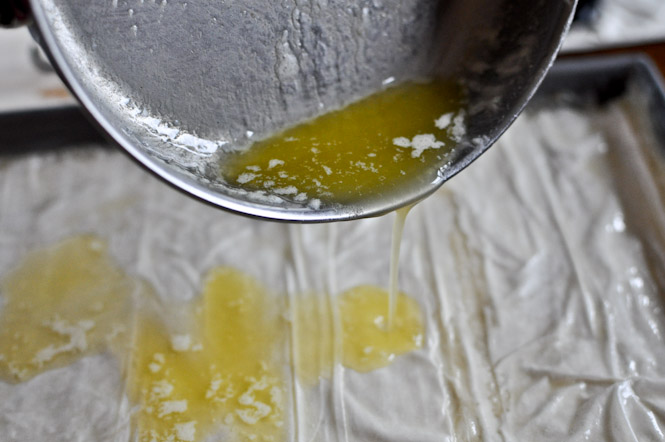
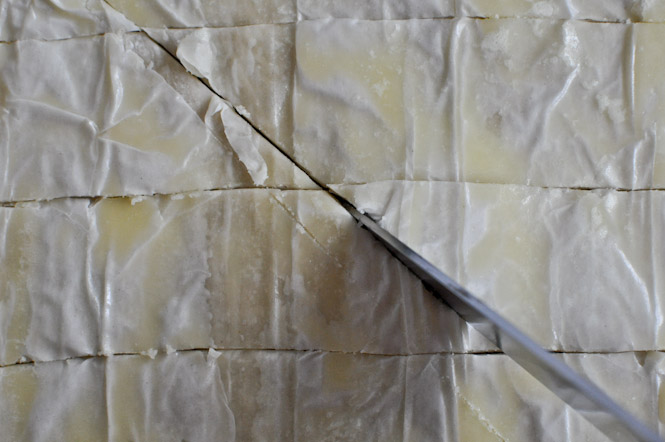
Then, as Tyler (my love… darn this relationship is moving fast) suggested, I dumped the remaining butter over top. He’s my kind of guy. I also followed his instructions and threw the whole pan in the fridge for exactly 30 minutes, then brought it out and cut it before baking.
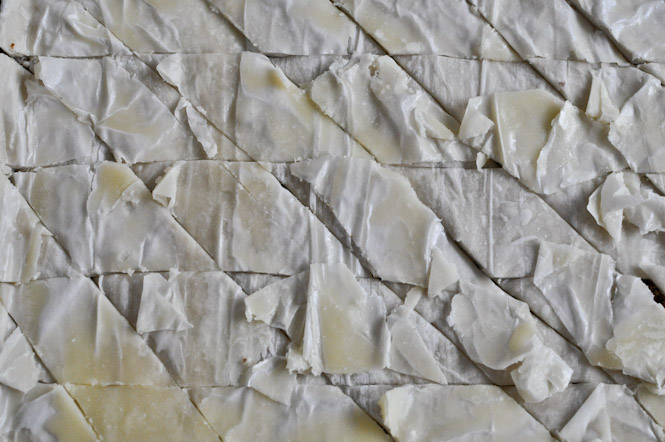
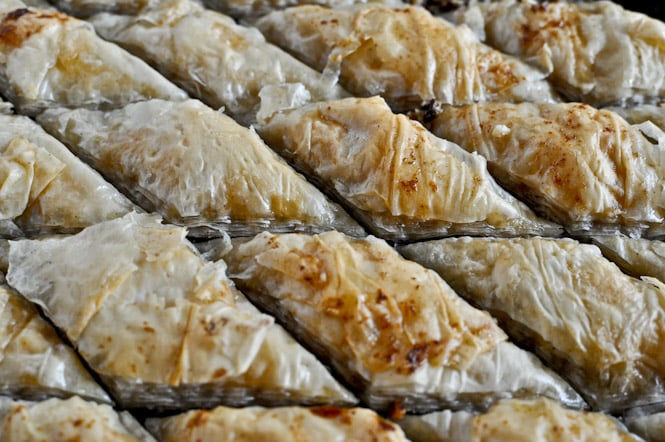
What’s that? You think my slices may look nice?
Uh. Look again.
Not so nice.
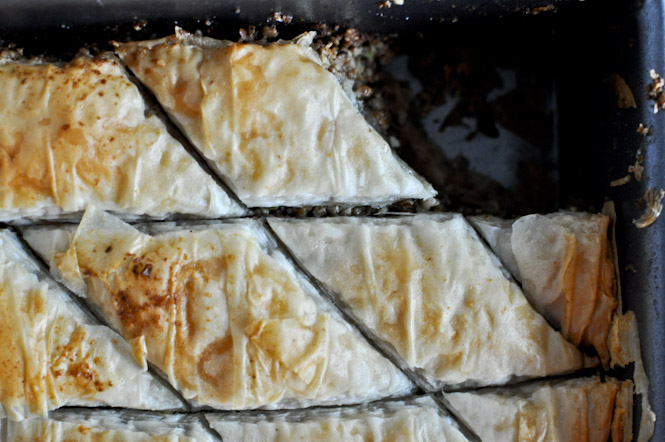
But guess what? It didn’t even matter! I baked it for exactly 42 minutes, rotating the pan once in between.
The recipe called for removing a piece (that was awesome. I ate it.), tipping the pan to the side and draining the butter. Uh, come again? I am not ever going to “drain the butter.” But whatever. Luckily, there was no butter to drain, which reinforces my decision to use less than the recipe called for. I ended up with 2 3/4 sticks rather than four. Go me.
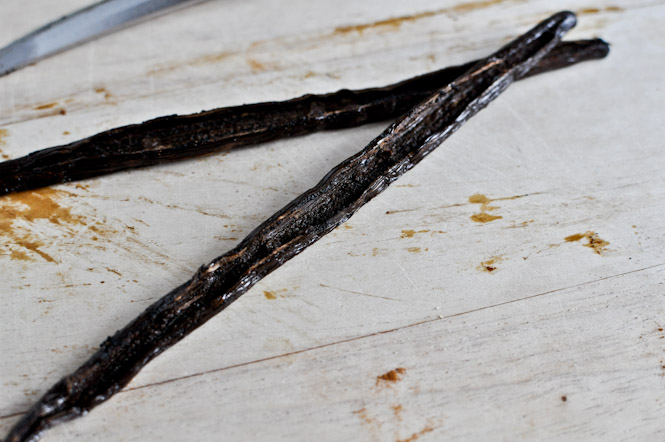
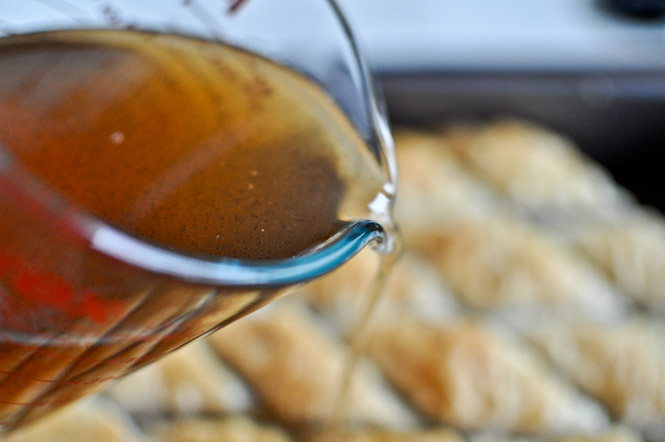
While the baklava was baking, I made a honey vanilla bean syrup. Holy smokes. I wanted to drink this.
Just check out those vanilla beans.
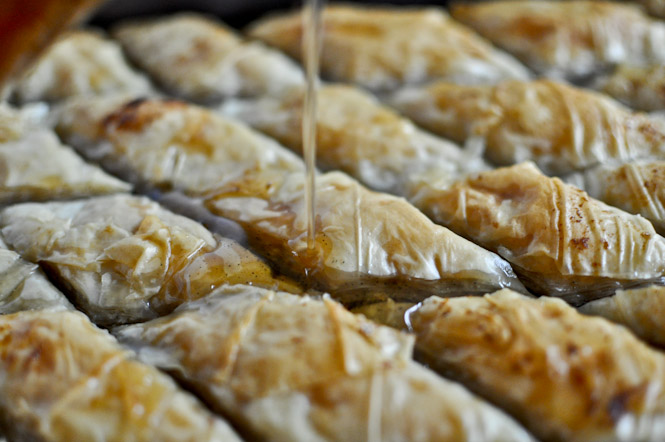
The millisecond this comes out of the oven, you dump the syrup all over the top.
Best.thing.ever.
Then you’re supposed to let it “sit for several hours.” Ha! What a freaking joke.
Just do what I did: make it in the late afternoon, then let it sit overnight. However, during the time it is “sitting,” pick off about 17 flakey layers from the top. Works like a charm.
In all seriousness, I did do that, but letting it sit overnight was key. It was so easy to slice and remove from the pan.
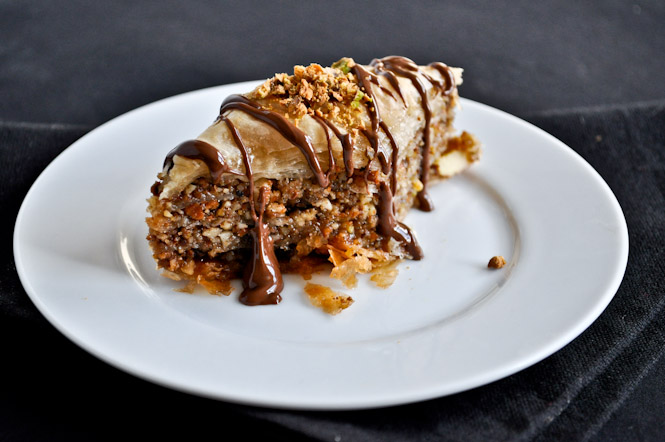
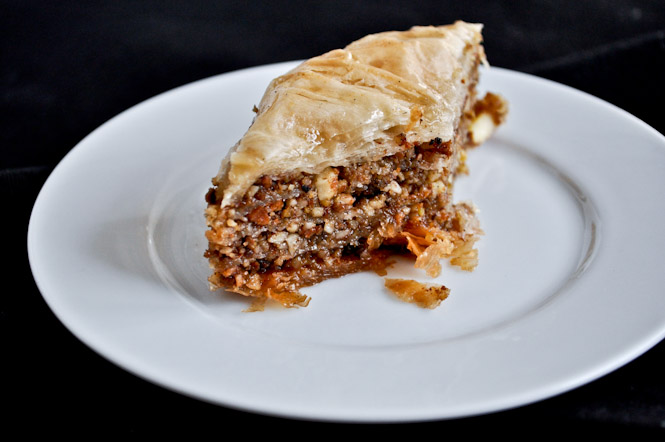
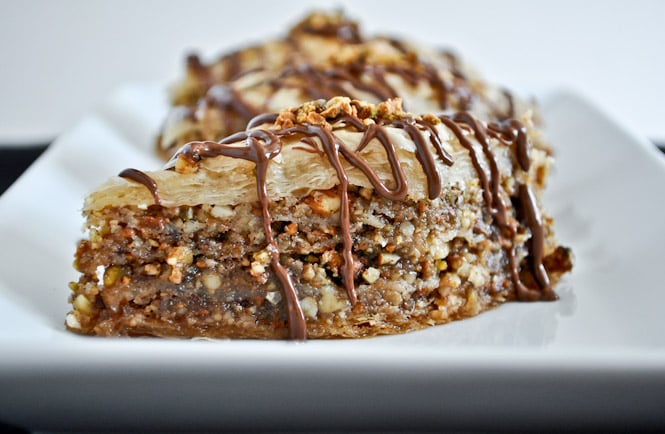
Plus… check out those layers.
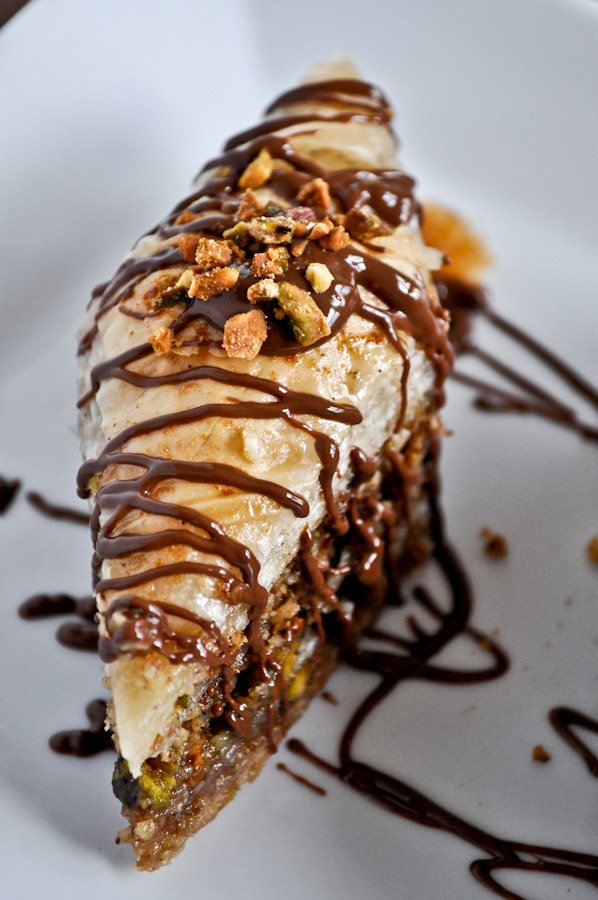
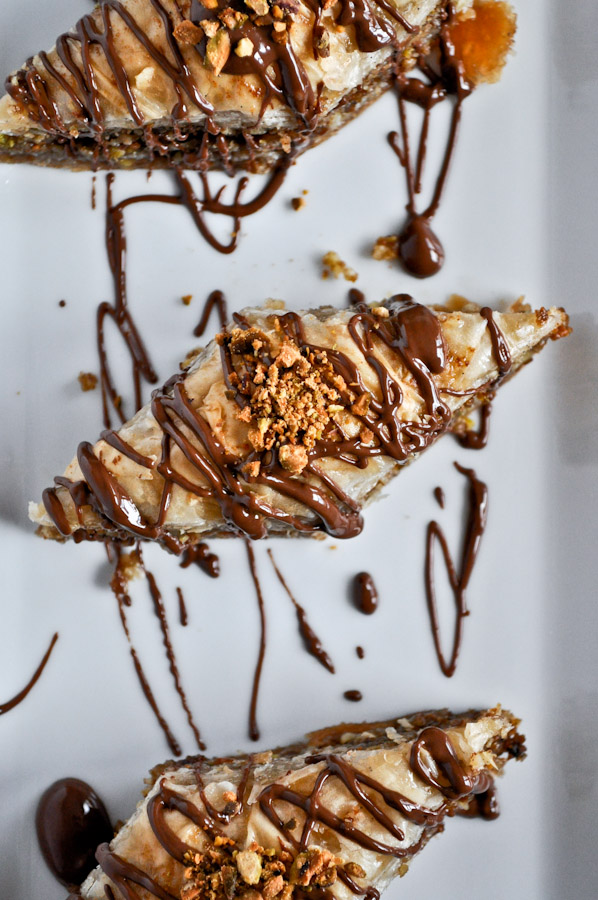
But you know all things are better with chocolate…
Haaaallllp me.



0 comments: